
In the previous post I talked about HTTP, the protocol over which data is sent between your browser and the website you are connected to. We saw that there is no protection provided for the data communicated using HTTP. A sneaker can steal the information in the middle of the communication channel.
The story of HTTP and HTTPS goes as below....... :)
In the beginning, network administrators had to figure out how to share the information they put out on the Internet.
They agreed on a procedure for exchanging information and called it HyperText Transfer Protocol (HTTP).
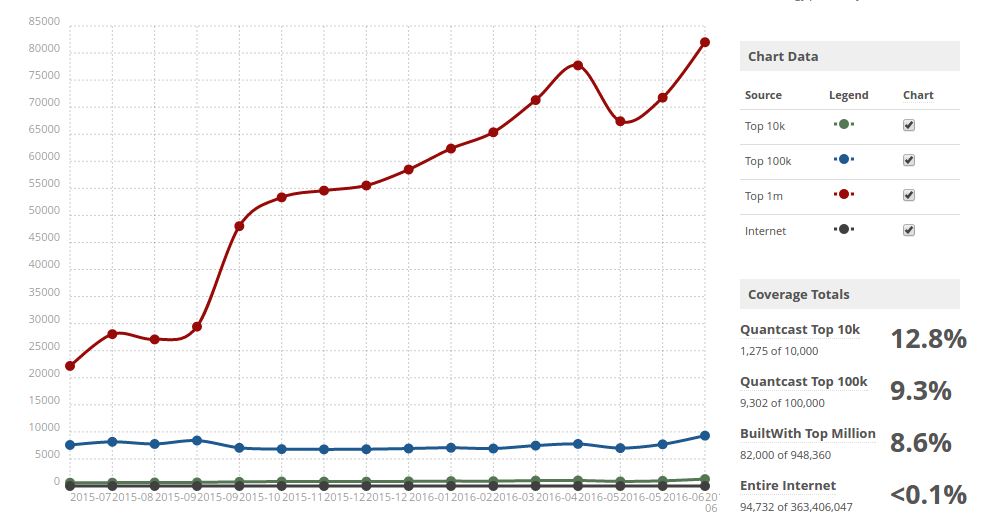
Once everyone knew how to exchange information, intercepting on the Internet was not difficult. So knowledgeable administrators agreed upon a procedure to protect the information they exchanged.As a result HTTPS simply mean Secure HTTP emerged. Afterwards it spread at a very high rate among the website holders. Following statistics shows its usage spreading profile.
- As of June 1, 2016 43.1% of the Internet’s 141,387 most popular websites have a secure implementation of HTTPS
- As of June 28, 2016 10.2% of Alexa top 1,000,000 websites use Https as default
The protection relies on SSL Certificate to encrypt the online data.

Above figure clearly depicts that HTTPS is a secure form of HTTP. Lets dig more deep into
What is HTTPS....?

As shown above in the diagram HTTP protocol is integrated with SSL(Secure Socket Layer) protocol. Sometimes it can also be TLS(Transport Layer Protocol).
Looking at the below figure , HTTP directly communicates with TCP in the Transport Layer. But in HTTPS, a SSL Record Layer Protocol acts as an intermediate between the application and the Transport Layer protocol. It supports the use of a Digital Certificate from the server. This enables the user to authenticate the server preventing Man-in-the-middle attack.

Now let us see what is a SSL Certificate in HTTPS.......
It provides identifying information like
- name of the certificate holder
- serial number
- expiration dates
- copy of the certificate holders public key.
Website needs an SSL certificate to establish a secure connection.
Since browser trusts the CA, then browser now trusts the Organisations' identity(websites' identity) by examining the SSL Certificate. Now let's see how HTTPS works using this SSL connection. Below figure shows a a friendly figure of how HTTPS works with the SSL connection. Always SSL or TLS uses 'asymmetric' public key infrastructure (PKI) system which uses two keys 'public key' and 'private key' for the encrypted communication. Here the client is always the browser whereas the server is the Organisations' website.

If the process is explained in brief.........
- First the browser the sends the request for a HTTPS connection to the webpage.
- The corresponding website initially sends the SSL certificate it has purchased from the Certificate Authority(CA). This certificate contains the public key in the communication.
- Then the browser validates the certificate examining its expiry date, and other parameters and comparing it with the list of trusted CA root certificates that the browsers maintain.
- Once the certificate is validated, it encrypts the private key(session key) with the public key found in the certificate and send it to the website server.
- The server, decrypts the obtained session key using its private key. Finally sends an acknowledgement encrypted with the session key saying he is ready for the communication.
Obtaining a SSL Connection to Your Website......
Each website sits on a computer called a Web Server. Each web server is connected to the internet always and given a unique address made up of series of 4 numbers. For example, 68.178.157.132 or 68.122.35.127 .Naming 4 leading web servers


Among them Apache HTTP Web Server is the most popular since it is open source and supports several OSs . Famous in Linux distributions. So in this blog I'm gonna describe the SSL integration in Apache Web Server and later on Tomcat integrated on top of Apache.
There are two ways in obtaining a SSL certificate to the website.
They are namely
01) Purchase from a certificate Authority like digicert, comodo etc.


02) Create a self signed certificate
Purchase from a certificate Authority
In this process there are different type of certificates you have to decide to obtain such as EV SSL certificate, Wild card certificate etc at different price levels. But the basic outline procedure is nearly same.Procedure is clearly explained in the sites' corresponding certificate type. Roughly it is like- Generate two files private key file (for the decryption of the SSL certificate) and CSR (Certificate Signing Request) file (it is used to create the SSL certificate)has to provide some informational data and be aware in providing common name(domain name)
- Open the CSR file and copy and paste it in the certificate order form
- After receiving the SSL certificate from the CA, install it. Follow the instruction provided in the CA site. In installation process, important to save a backup of the private key file since it is required in the certificate installation.
1) Download and copy the certificate with the private key to the server directory.
2) Find Apache configuration file and edit <VirtualHost> block for the SSL enabled site. Below shows a simple SSL configuration of a virtual host.

- Test your apache config before restarting using command
apachectl configtest - Restart apache
apachectl stop
apachectl start

Create a self signed certificate
Step 1First enable the SSL module on your system by typing
sudo a2enmod ssl
For the change to applied restart the server
sudo service apache2 restart
Step 2
Create a self signed certificate and the key by issuing the following command. Here a ssl sub-directory is created in the etc/apache directory to store all the keys and self signed certificates.
-x509: indicates we want a self signed request instead of a certificate request
-out specify the output directory
In this step you'll be asked several questions and common name is the domain name you would like to associate the certificate with. access the site with this afterwards.
Step 3
Configure apache to use SSL. Below shows the SSL module structure.

Step 4
Activate SSL virtual host by typing the below command
Step 5
Test the Set up
https://www.digitalocean.com/community/tutorials/how-to-create-a-ssl-certificate-on-apache-for-ubuntu-14-04
Create a self signed certificate and the key by issuing the following command. Here a ssl sub-directory is created in the etc/apache directory to store all the keys and self signed certificates.
sudo openssl req -x509 -nodes -days 365 -newkey rsa:2048 -keyout /etc/apache2/ssl/apache.key -out /etc/apache2/ssl/apache.crt-x509: indicates we want a self signed request instead of a certificate request
-out specify the output directory
In this step you'll be asked several questions and common name is the domain name you would like to associate the certificate with. access the site with this afterwards.
Step 3
Configure apache to use SSL. Below shows the SSL module structure.

Step 4
Activate SSL virtual host by typing the below command
sudo a2ensite default-ssl.confStep 5
Test the Set up
https://server_domain_name_or_IP
https://www.digitalocean.com/community/tutorials/how-to-create-a-ssl-certificate-on-apache-for-ubuntu-14-04
It was worth to read this article. Thank you for updating it with us
ReplyDeleteWebsite Security Certificate | SSL certificate Prices | SSL Certificate Integration Service